Wilson Audio WAMM
Wilson Audio manufactured the Wamm for a record breaking 25 years, I was told the last pair was manufactured in year 2002. There are a total 53 pairs of Wilson Audio Wamm speakers in use world wide.
A Bipolar Junction Transistor (BJT) can be used in place of the MOSFET, but MOSFETs tend to be more stable with temperature and current shifts. Use caution when handling MOSFETs as they are very static sensitive.
The signal enters the grid via a coupling capacitor, it leaves the plate (anode) amplified and 180 degrees out of phase, it is then directly coupled to the gate of the MOSFET and leaves the source. The signal is then coupled to the headphones via a electrolytic capacitor, which blocks the DC from your headphones. Since the sleeve of your headphones is common it completes the circuit.
The MOSFET is biased into class-A operation and will be constantly conducting at approximately 125 mA. The LM317 regulator is configured as a constant current source and regulates at 125 mA in the given configuration. You can use the online LM317 regulator calculator to determine the current through the regulator by adjusting the program resistor. It is suggested that a 10 ohm 1/2W program resistors is used for R4 (you can use two 1/4W 20 ohm resistors in parallel). Note that the regulator and MOSFET devices will heat up and radiate heat. There are some real in depth calculations for heat, but know that the MOSFET can dissipate at least 1.6 Watts and the LM317 2 Watts to air, at room temp. I tested a prototype over a continuous 24 hours period in a 150 cubic-centimeter (about 9 cubic-inch) enclosure and there were no thermal stability issues. You can add heatsinks to the devices, just ensure that if you gang the FETs together to use mica and silicone washers to prevent the 12V supply from transferring to the heat sinks.
The schematic above shows only one channel, you will have to wire the the tube for both channels using different pins. The only wiring that is common for the 12AU7 tube between the two channels is the heater.
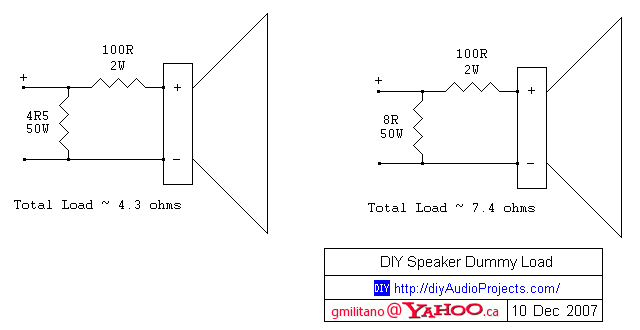
This is a simple DIY Speaker dummy load that I put together quickly. After constructing an AMP6 T-Amp, I was testing the maximum power output using a 4.7 ohm ceramic power resistor. I somehow got distracted and before I knew it, I could smell burning. The ceramic resistor had started burning through a floor mat and melting the insulation of the test leads which had fallen on the hot resistor. So rather than test with loose resistors and test leads, I figured I should make a properly enclosed dummy load.
Rather than just using a load resistor across an amp, I prefer to be able to hear what is going on during testing. The schematic below shows two dummy loads. With a speaker connected, the amplifier will see either a 4.3 or 7.4 ohm load while the attached speaker will receive less than about 1% of the output power. You can check the net load for yourself by following the basic electronics formulas. With a simple setup like this you can test at high power without risking damaging speakers, going deaf or driving other people crazy. If a speaker is not connected to the dummy load, the amplifier will see either a 4.5 or 8 ohm load.
The two dummy speaker loads are housed in the same type of aluminum baking pan that I used for my 50EH5 Single Ended Tube Amplifier. To help promote cooling, I mounted the 50W resistors to heat sinks that had been salvaged from dead computer power supplies. The 4.5 ohm resistor is attached to the larger heat sink. The aluminum enclosure also helps dissipate some heat from the resistors. Since the resistors are cooled somewhat, it is ok to apply more than 50W of power for a very SHORT period of time, but don't get carried away.
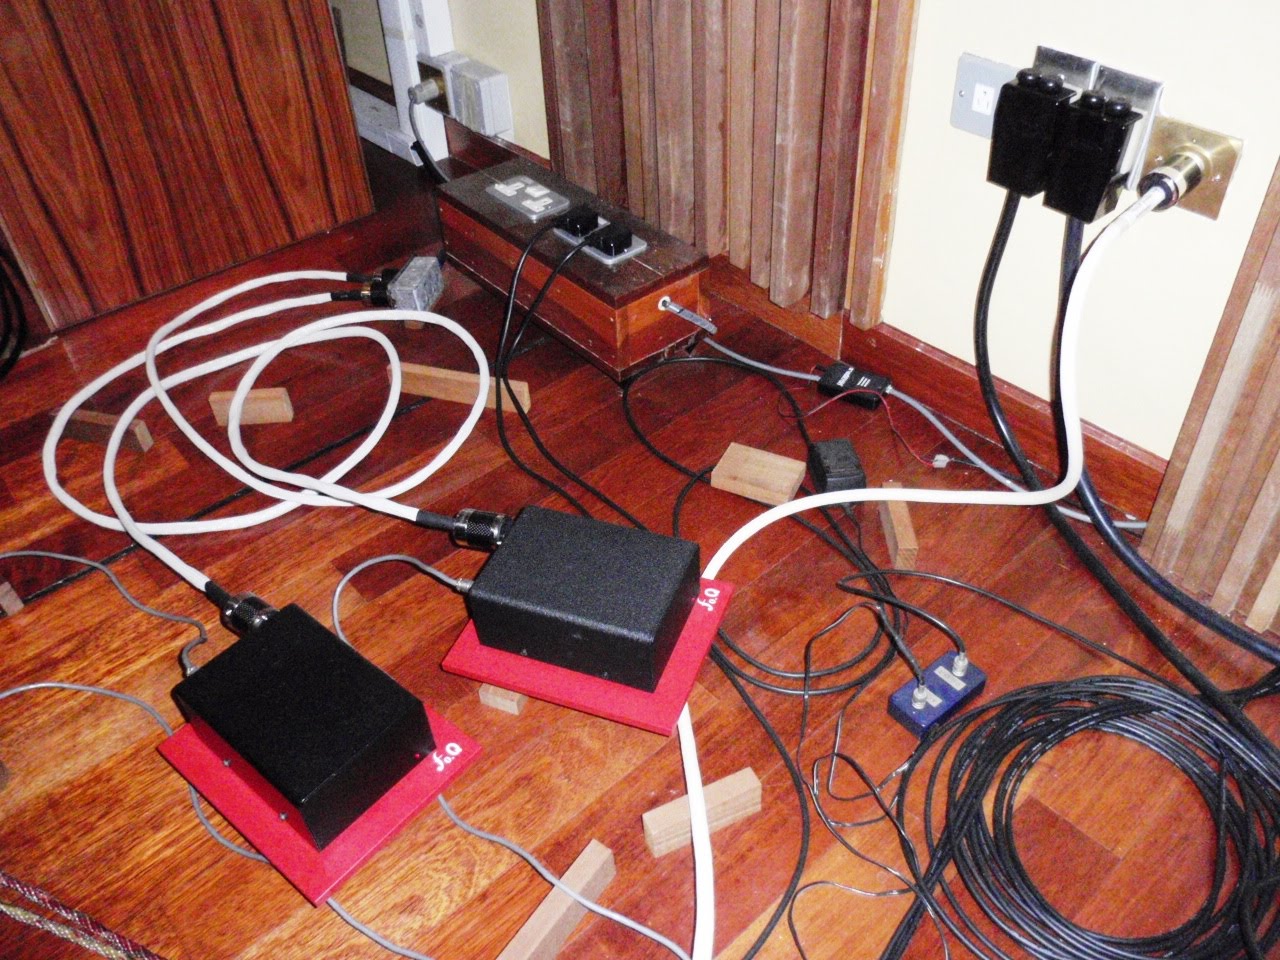
I used binding posts to allow for easy connection to and from the dummy load. The binding posts also make it easy to add a small capacitor or inductor if you want to try different load scenarios when testing an amplifier.
 Tweet
Tweet


Comment